
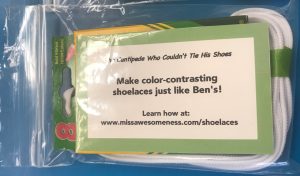
Welcome! If the picture above looks familiar, you probably got it at my booth at the Orange County Children’s Book Festival. I was selling kits to make homemade color-contrasting/dual-color shoelaces, like Ben’s. (Who happens to be the main character of my first children’s picture book, The Centipede Who Couldn’t Tie His Shoes, available on Amazon!)
You can also buy professionally made color-contrasting laces on sites like Easy Tie Shoelaces and Tying is a Snap, which are awesome.
My tutorial will be getting snazzier shortly, but the good news is, coloring your own laces is SUPER EASY.
Note #1: Remember EACH LACE will have TWO colors, and they should contrast enough that you can tell the colors apart easily.
Note #2: Make sure you’re coloring your shoelace on cardboard or something you can dispose of!
Note #3: If you’re trying to do this for a young child’s functional shoe, read the warning at the bottom about shoelace length!
Very, very short text-only instructions:
1. Fold lace in half to find half-way mark, where you will switch colors.
2. Color one-half the lace in a contrasting color to the other half.
3. Have an adult iron the shoelace within an old towel to “set” the color.
4. Lace up your shoe with the new dual-color laces.
5. Be awesome.
Longer, soon-to-be-snazzy-with-pictures tutorial:
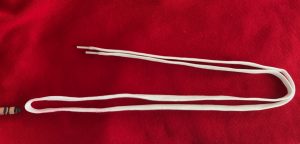
Step 1: Fold your lace in half and note the half-way spot so that you know where to start!
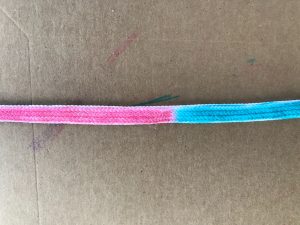
See where the pink meets the blue? That was the meeting spot, the half-way spot. Convenient for both colors!
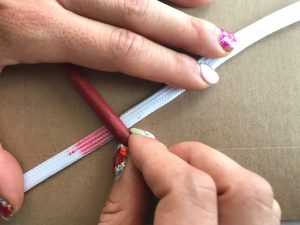
Step 2: Start coloring! You can color your laces in two different ways. One way is to take the paper off the crayon and roll it.
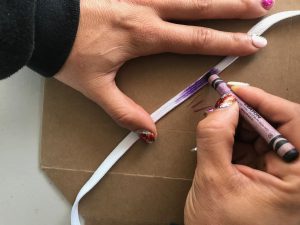
…Or you can color the old fashioned way. Check out my sister’s beautiful crayon grip. Notice she’s holding the shoelace taut in one hand while she colors with the other.
(Pauses……) done coloring yet? Let’s move on.
Step 3: I do not have a picture of this (yet), but you need to “set” the color with an iron. THIS STEP REQUIRES ADULT ASSISTANCE!!!!! The adult will put down a thin old okay-to-ruin towel on the ironing board. Place the lace flat and straight on the towel, then fold over the towel to make a shoelace sandwich. Towel layer, shoelace, towel layer. Carefully iron the shoelace (protected by the thin towel) because the heat will set it and make the color permanent.
Step 4: Lace your shoe, making sure you are symmetrical. (I recommend first using shoes you aren’t absolutely in love with, in case there is any accidental dying of shoe fabric.)
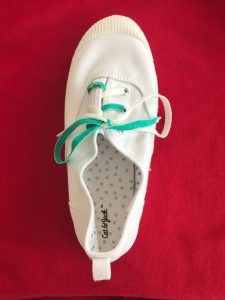
Step 5: Put on your shoes. Be the coolest person ever.
Note: You can try these on any shoelaces that aren’t waxed, BUT it doesn’t always work depending on the fabric blend. All-cotton is best, which you can find on Amazon, but some other types also work. You can also use fabric crayons or markers, although regular crayons also worked. The company that sold me my laces said they thought the laces were all cotton but weren’t sure. They worked well regardless.
WARNING: The shoelaces that come in this kit are 45-inches long, which will be much longer than necessary for the typical young child’s shoe. They could become a trip hazard. You have some options.
1) BEFORE coloring, cut the shoelace to a better length for your child’s shoe (how long depends on the type of shoe and how old your child is/how big their feet are) and create your own “aglet” (the name for the end of your shoelace, who knew?). But it’s not a quick/easy thing unless you’ve done it before, sooo do some research.
2) Make these shoelaces for an older person because older people like color too.
3) Use these to make cardboard kits/shoe-tying practice boards. Plenty of cool/fun tutorials on Pinterest.
I hope you enjoy learning how to tie your shoes with these new color-contrasting/dual-colored laces, or enjoy gifting someone. You can find lots more information about shoe-tying and the book at missawesomeness.com/books.
I’ll be updating this tutorial within the next few days (last updated Sept. 29th) with more details and a better layout.